


Great find
It was nice to find a gold-coloured titanium Magen David earring with a flat back because there are very few around. Be aware that it is an internally threaded flat back Labret and screwing on the front is fiddly. I would have preferred threadless but once in the jewelry is very comfortable
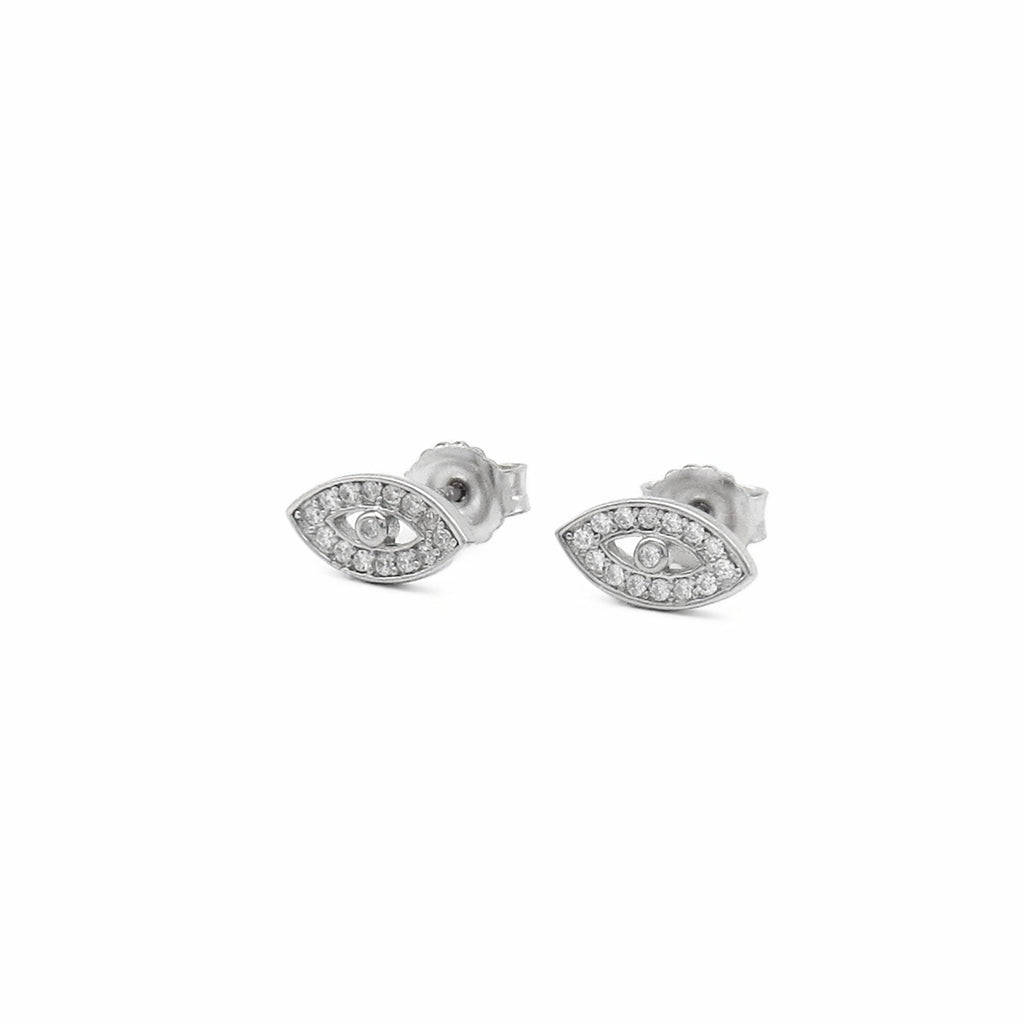
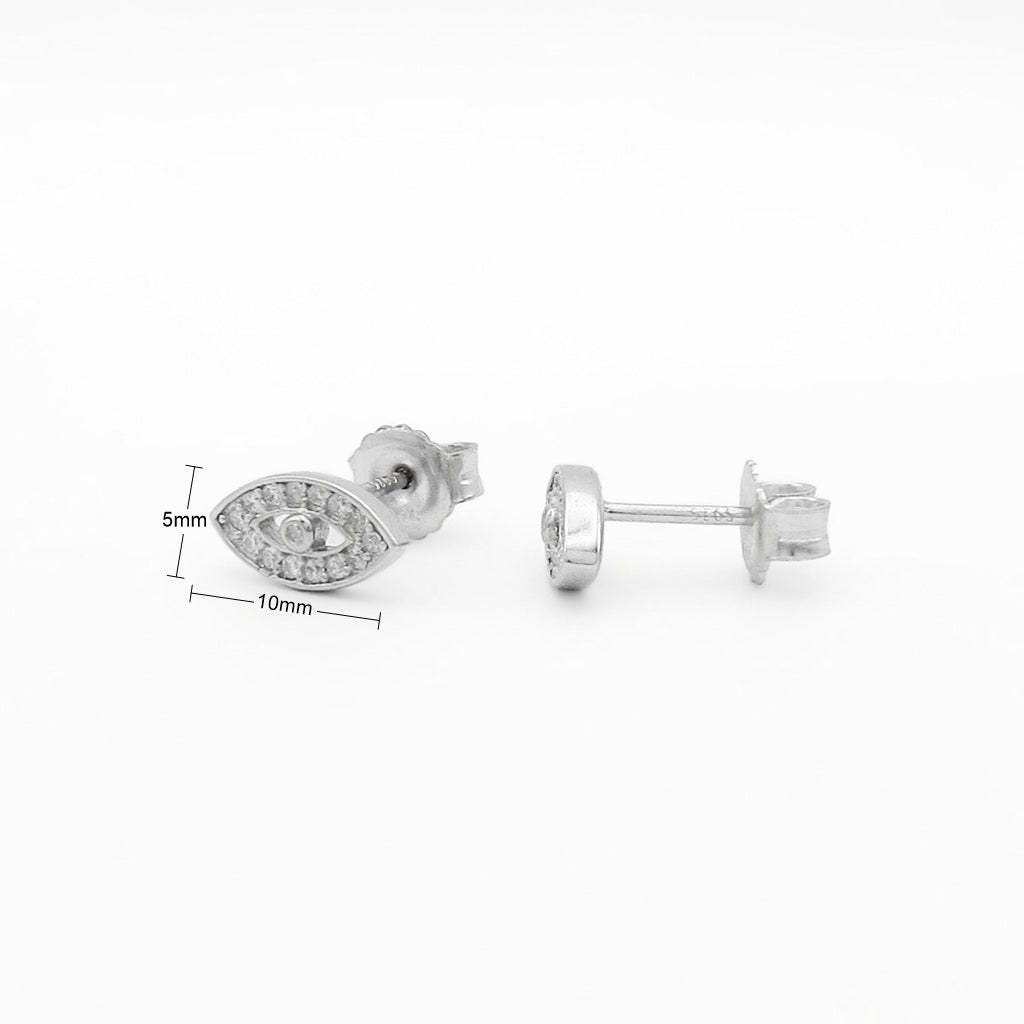
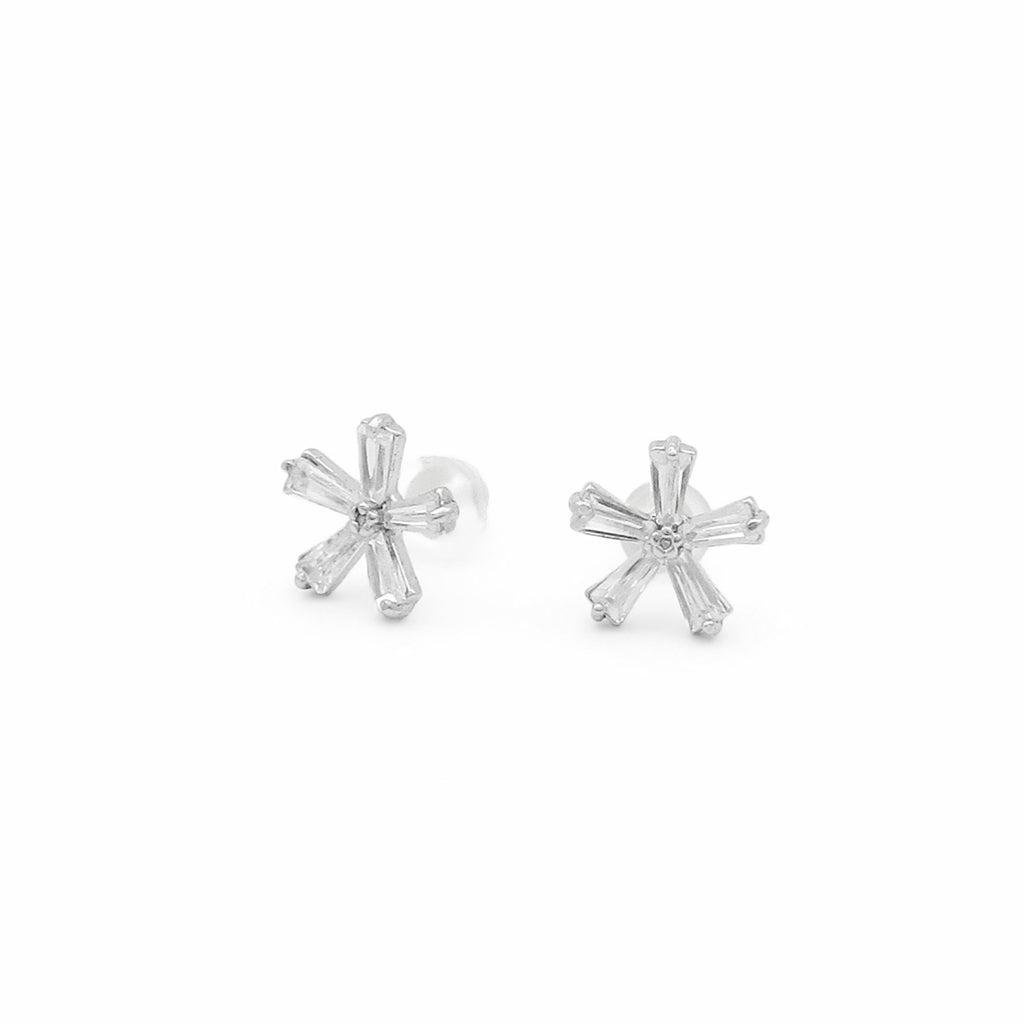
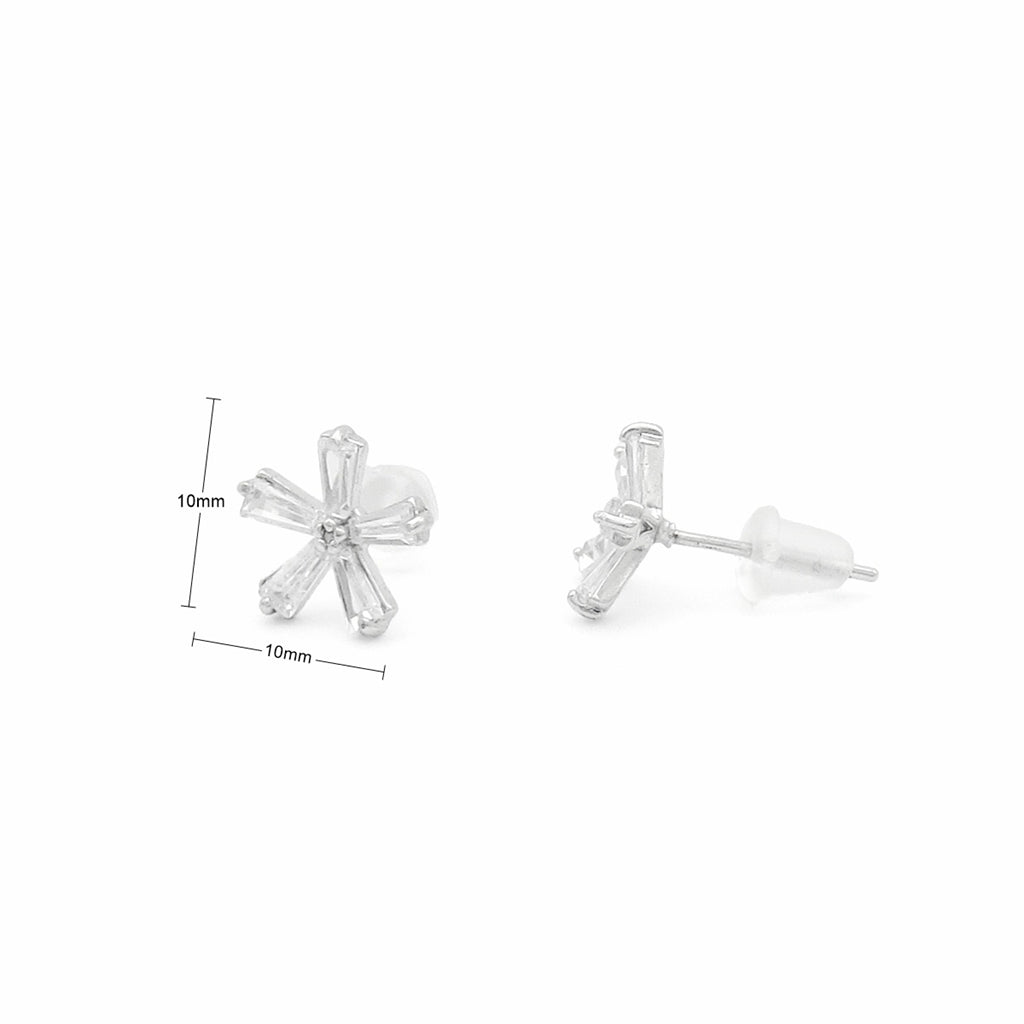
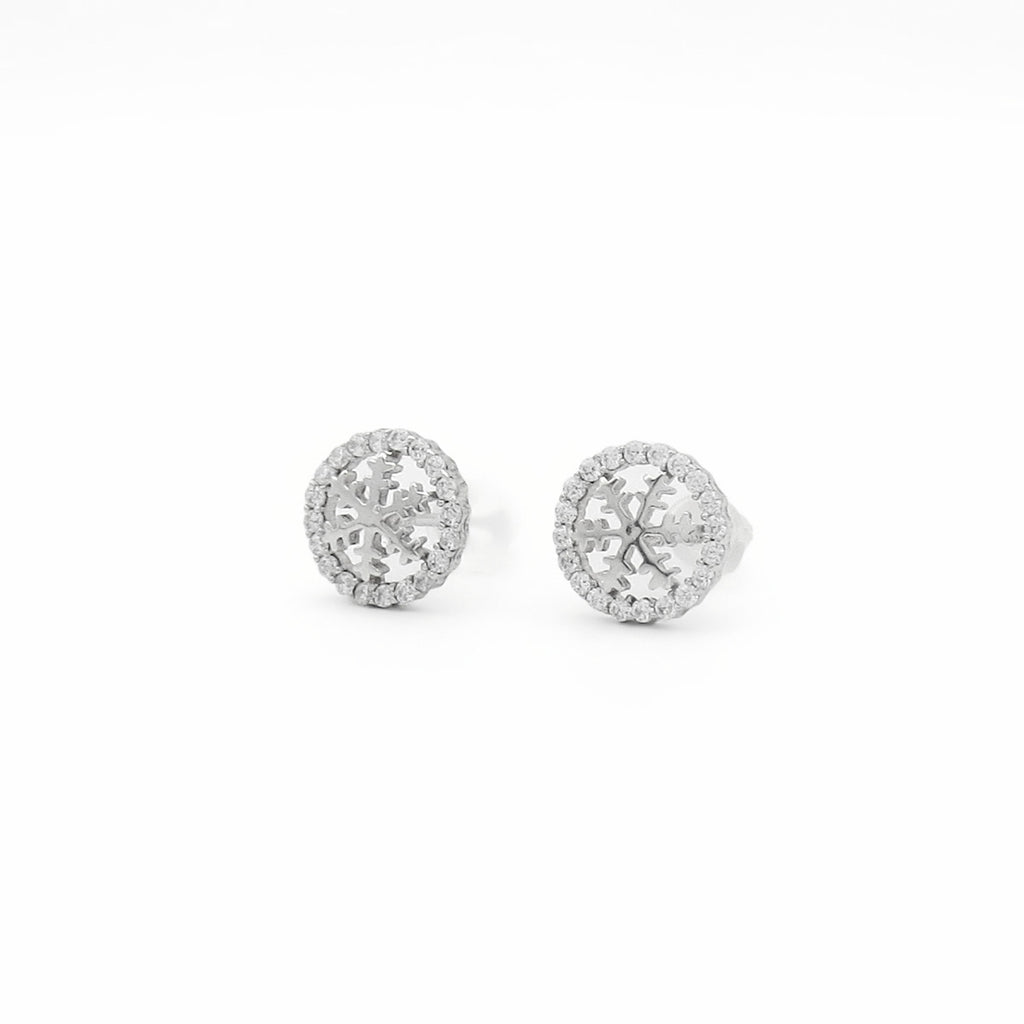
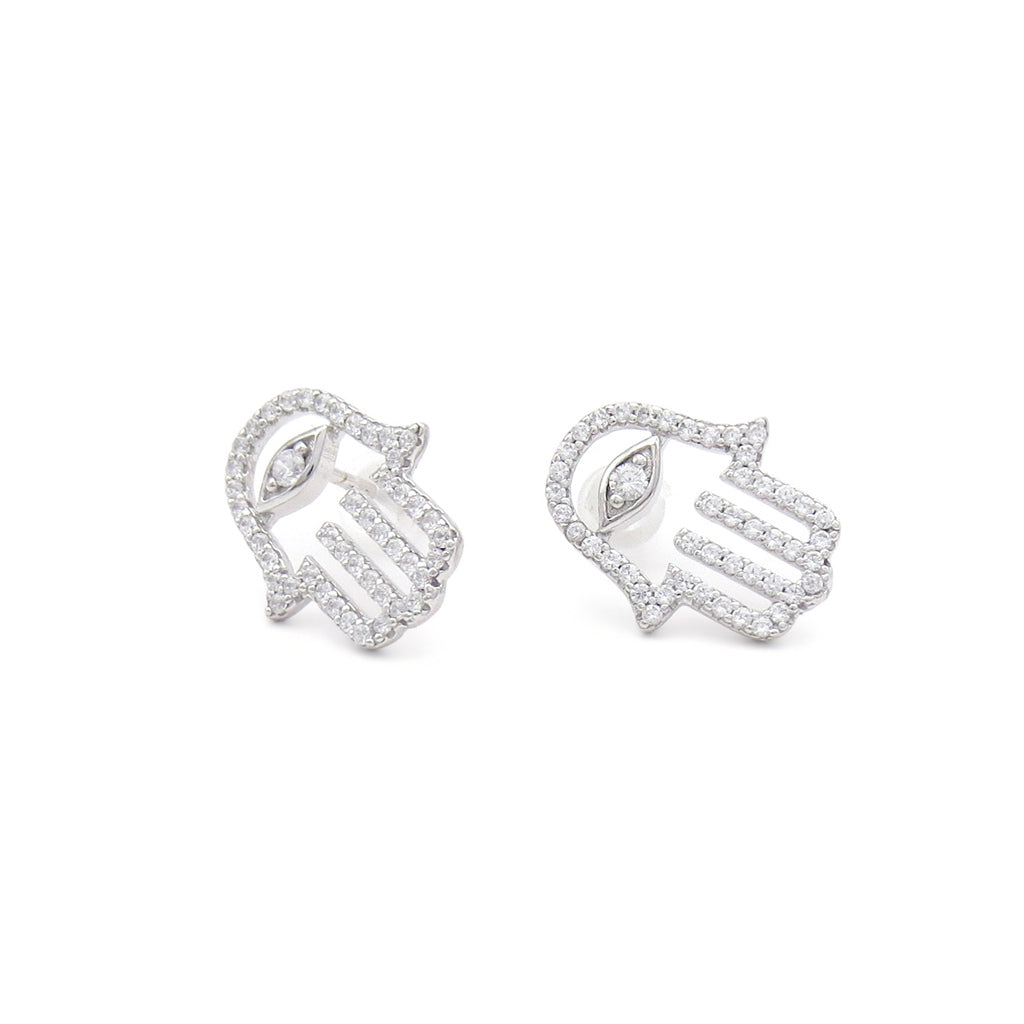
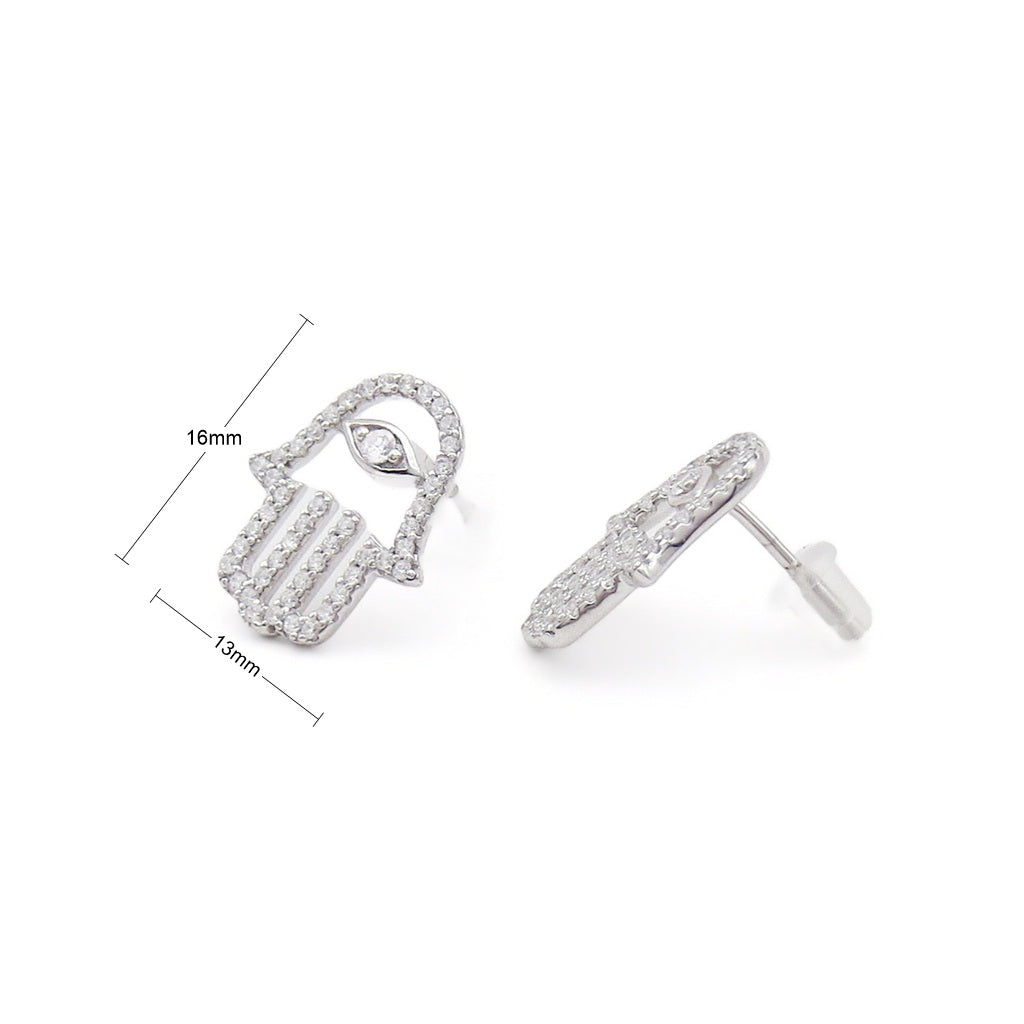
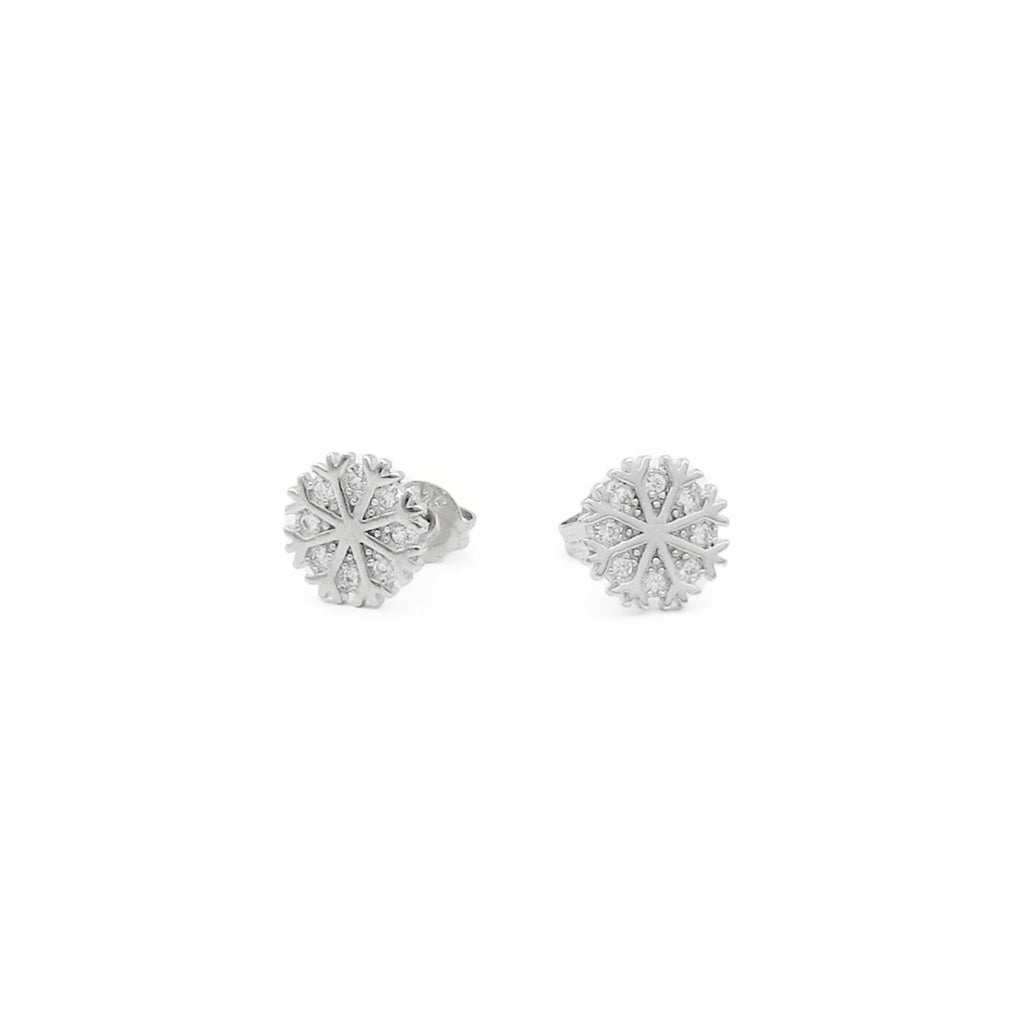
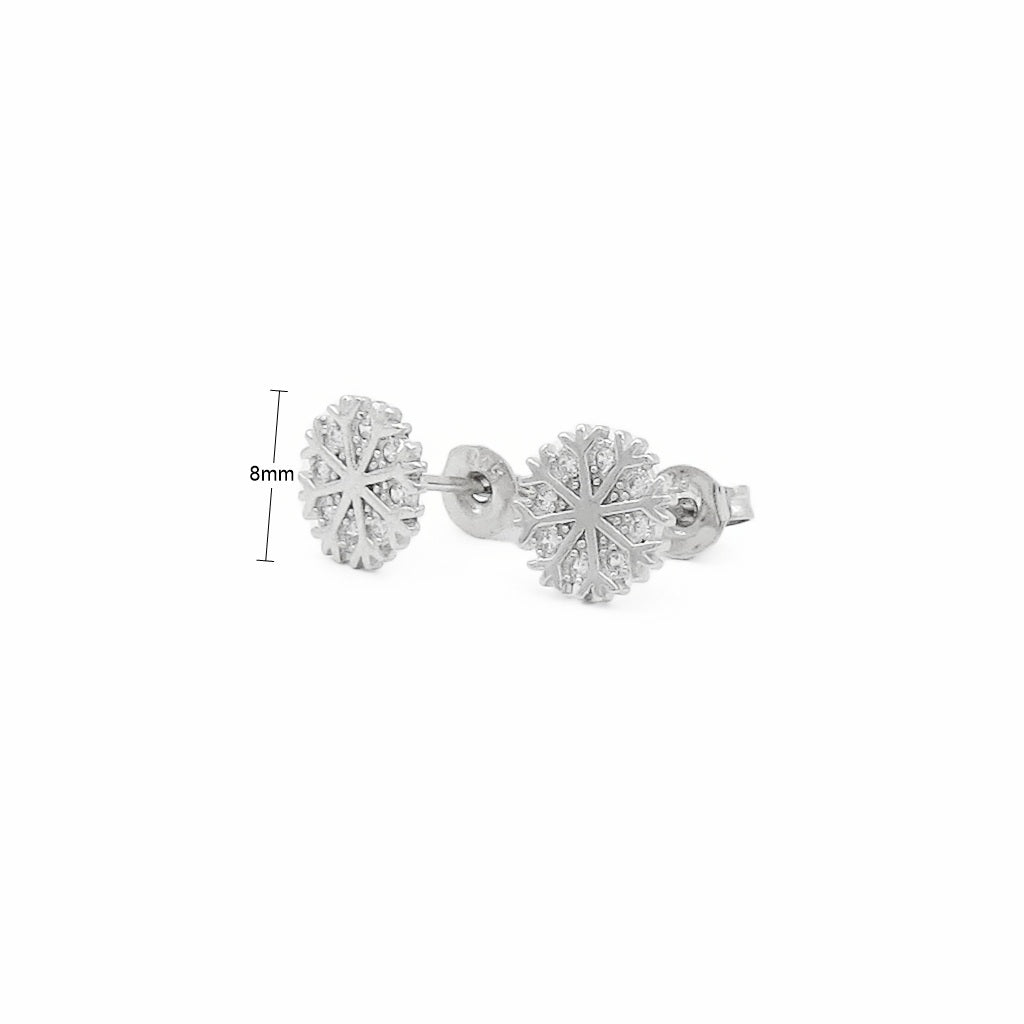
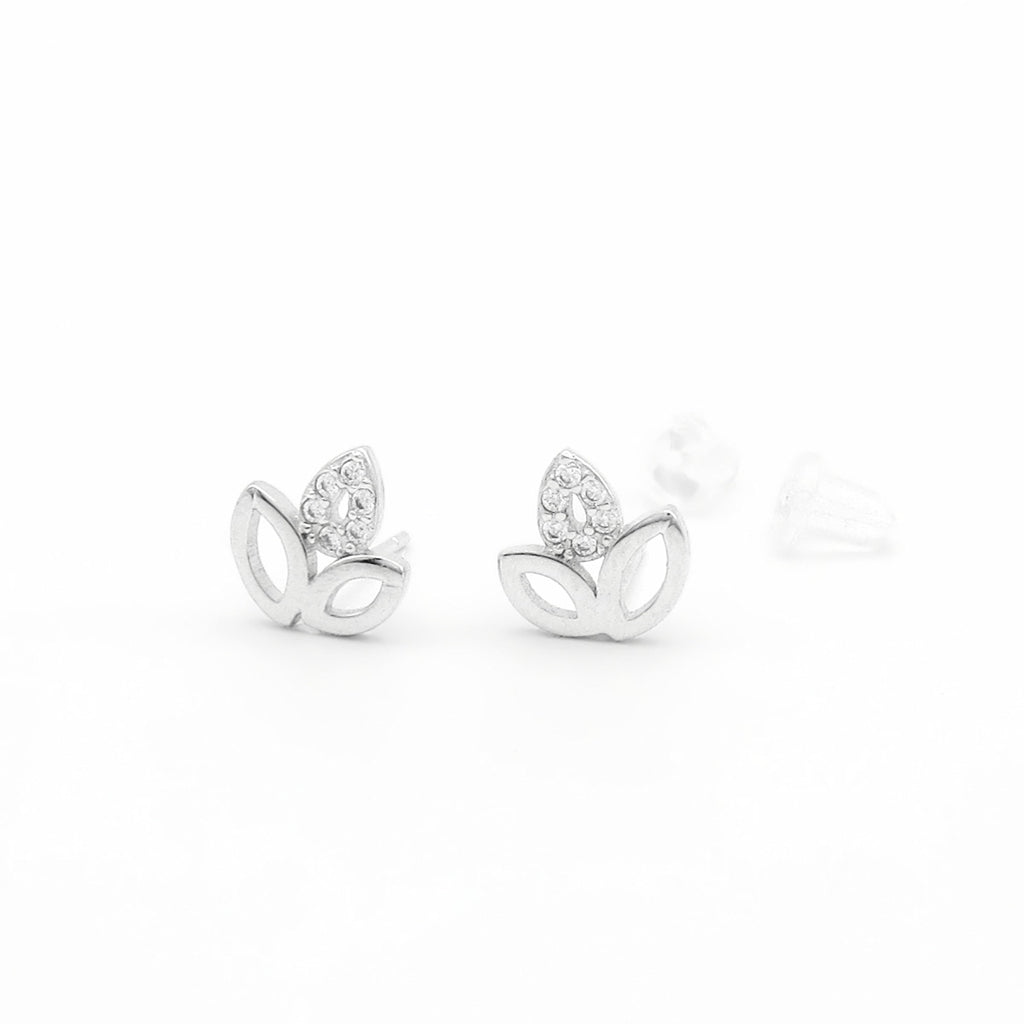
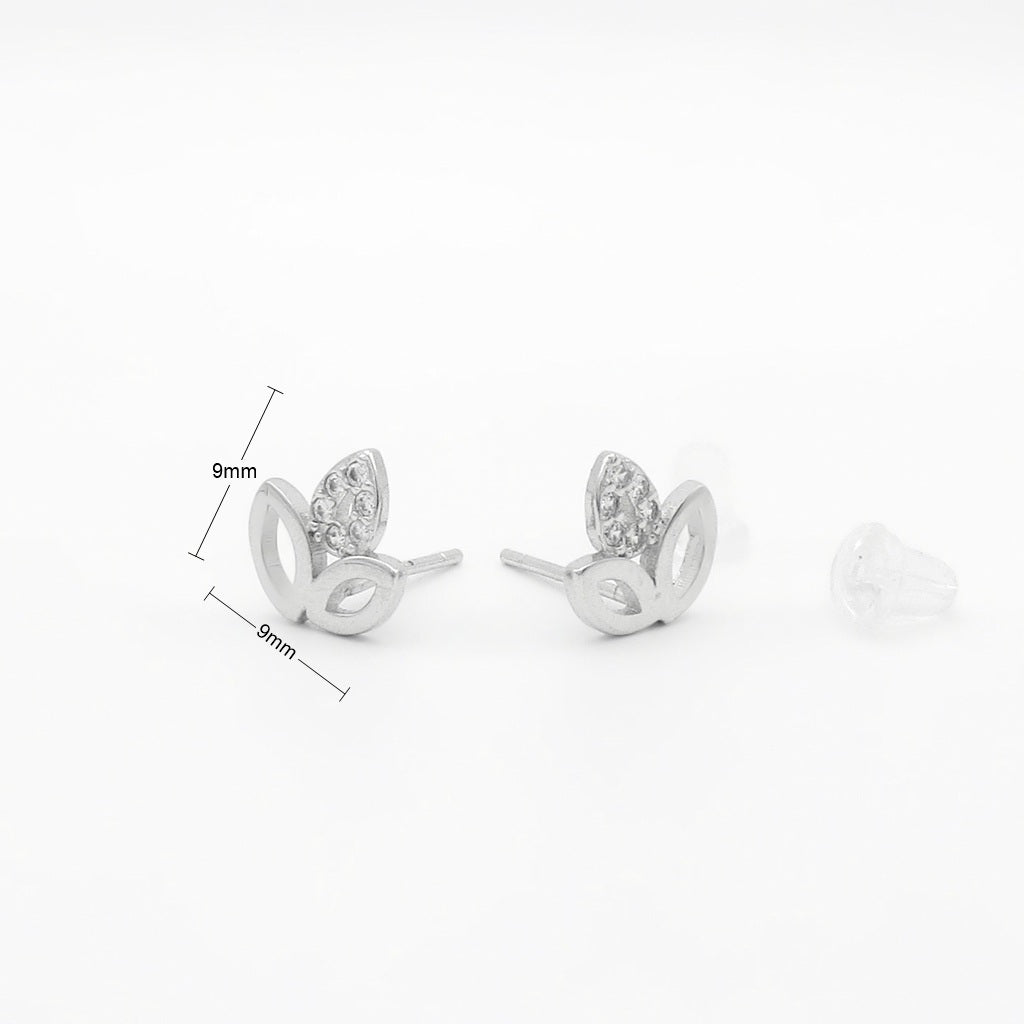
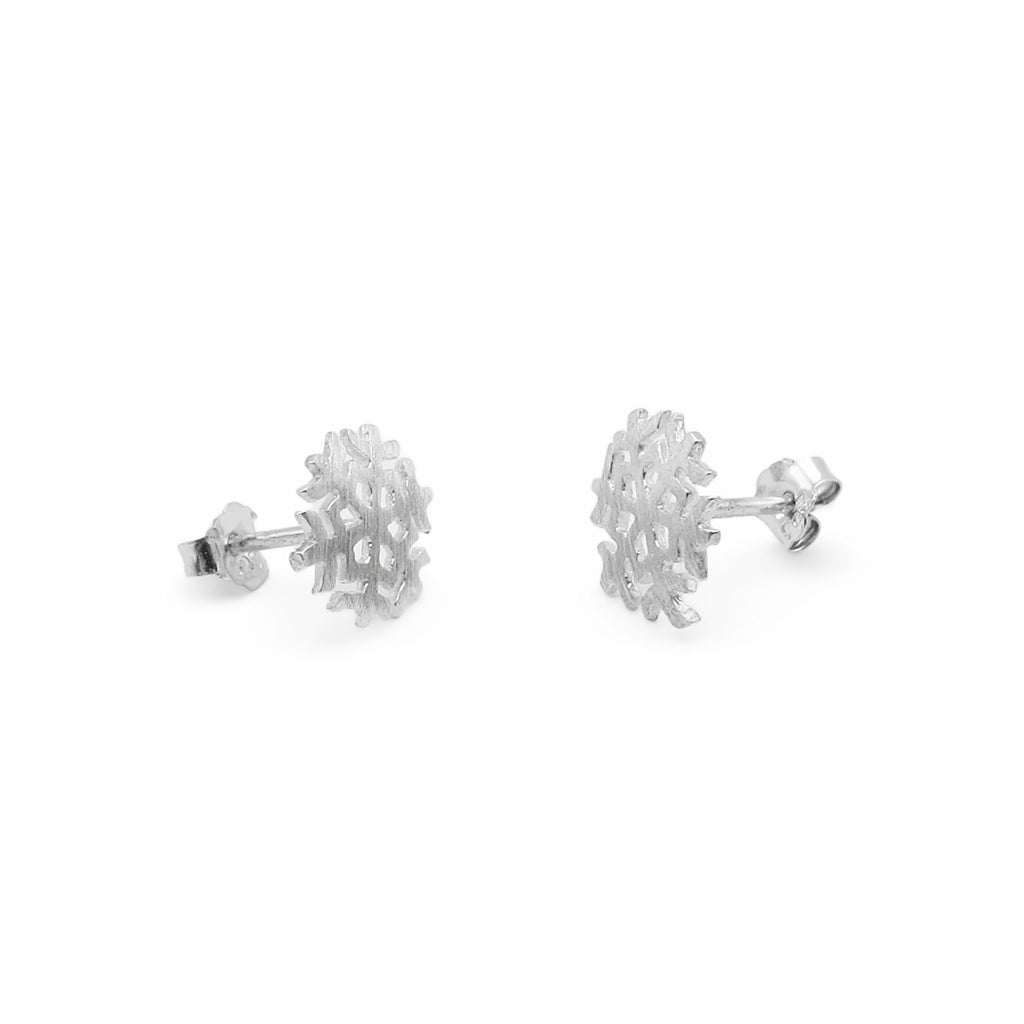
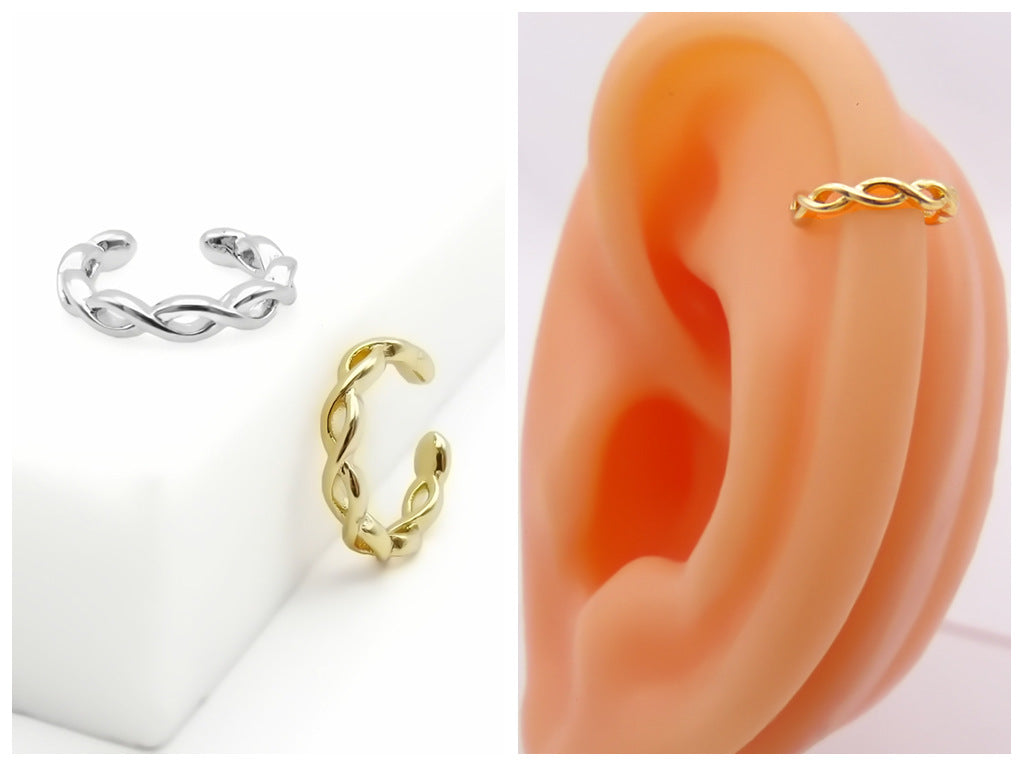
My favourite so far, comfortable and stylish
Great customer service, the dog tags arrived super quickly (ordered Thursday night, arrived Saturday morning!) and they are great quality.
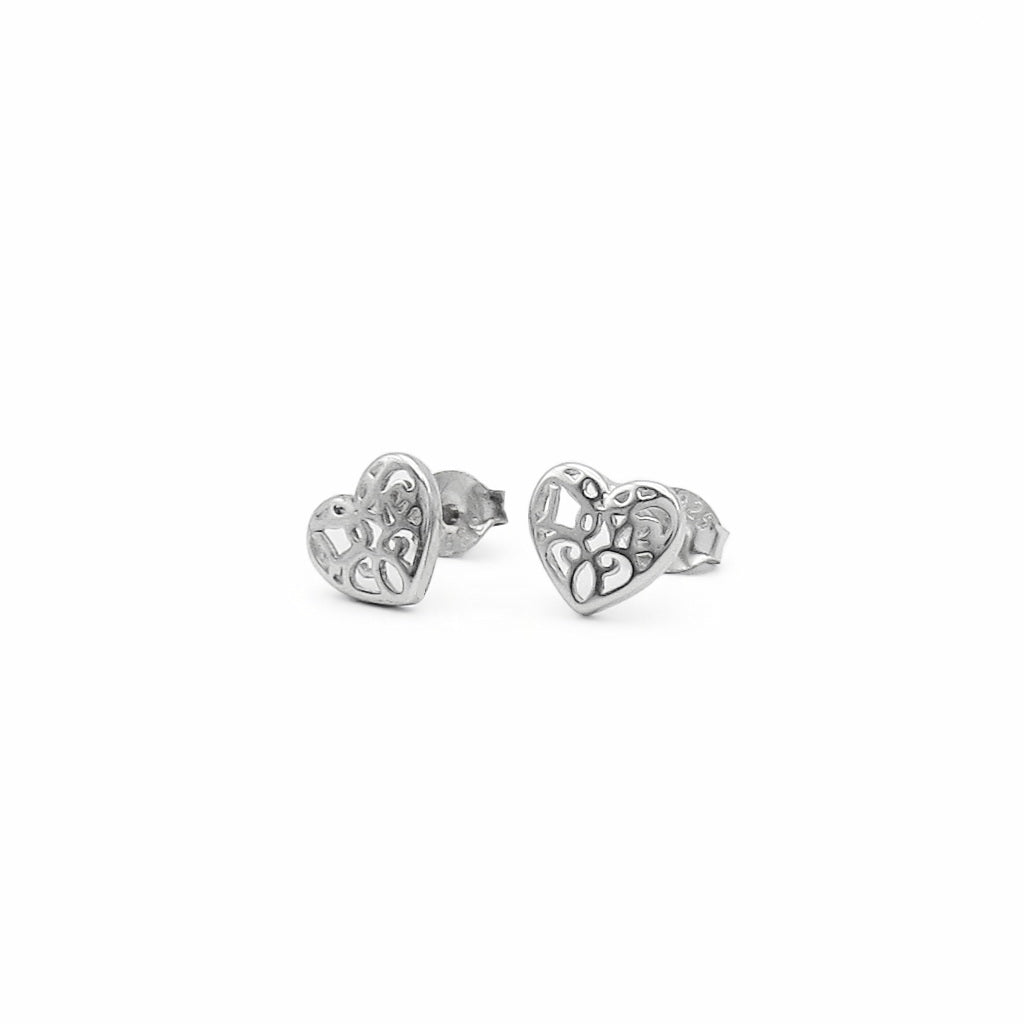
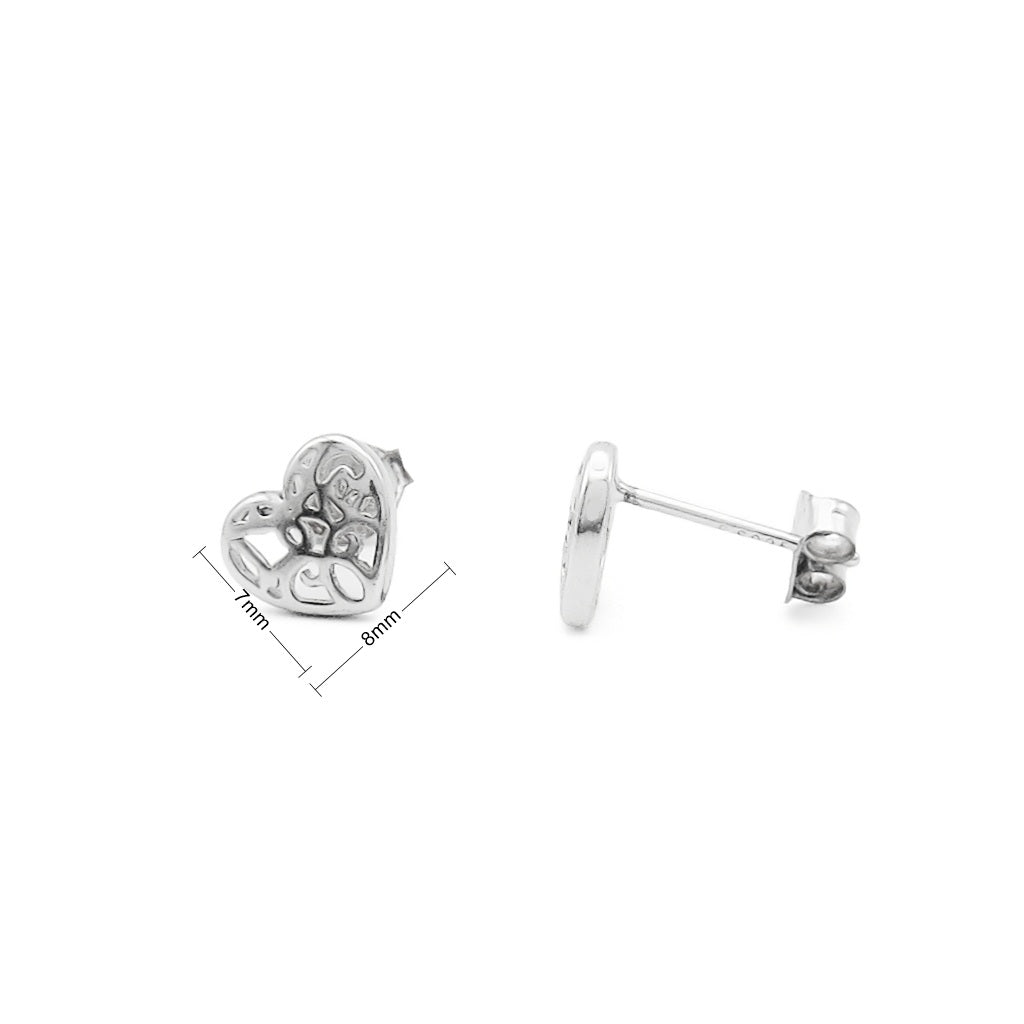
Love my new earrings. Excellent communication and quick delivery. Highly recommend
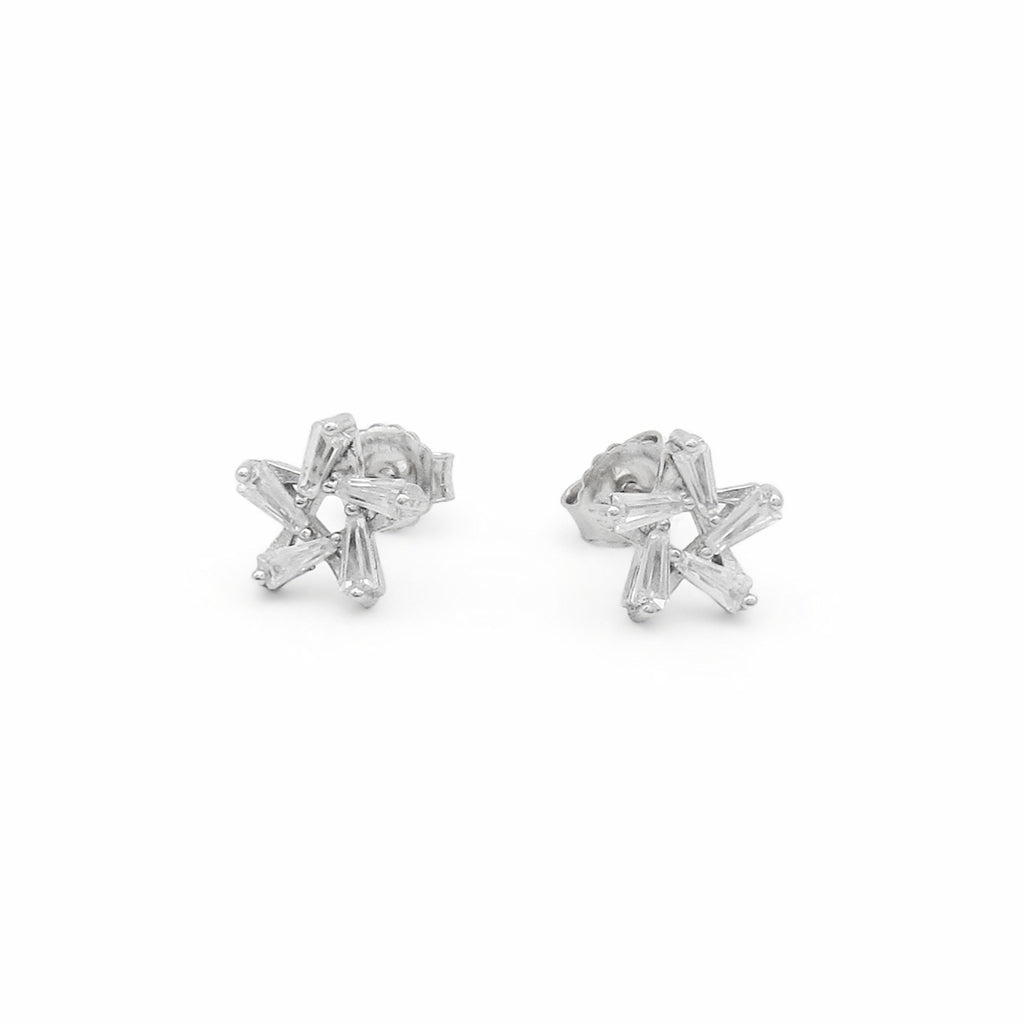
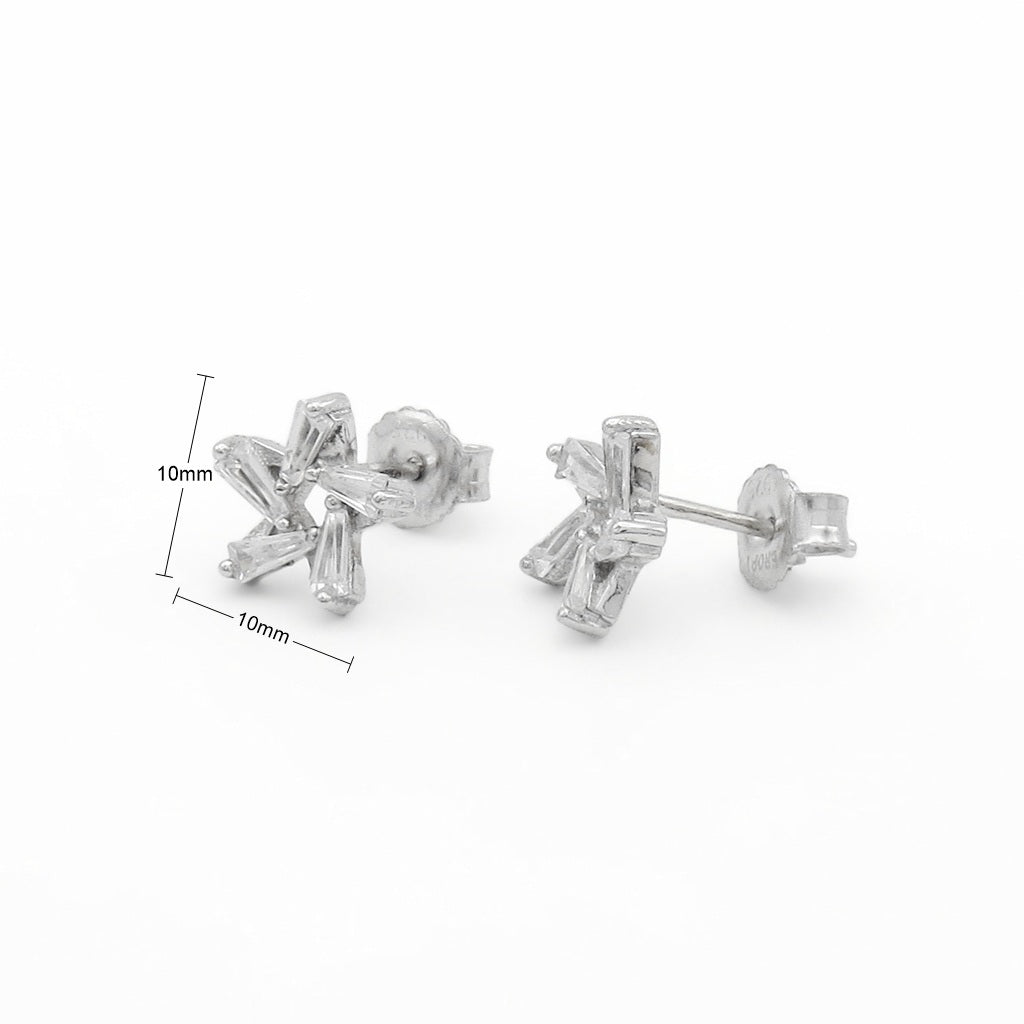
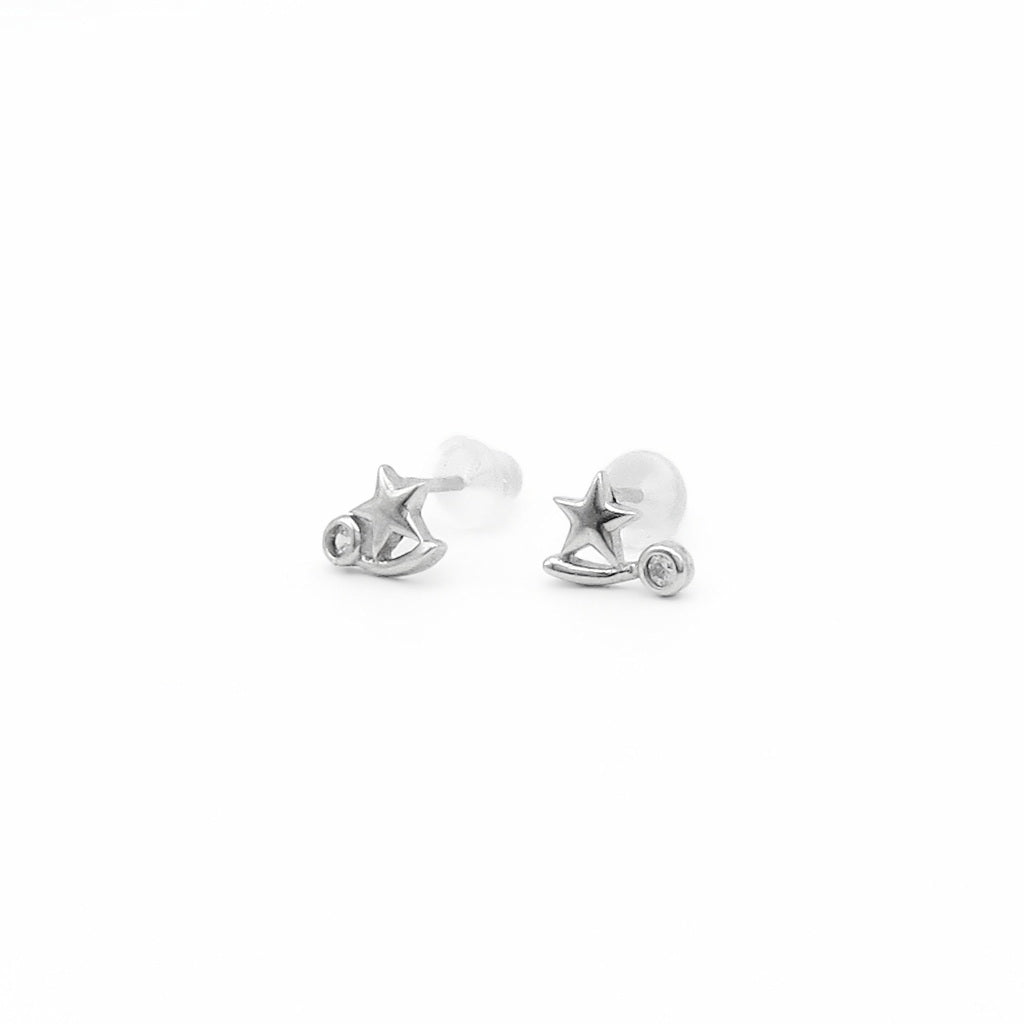
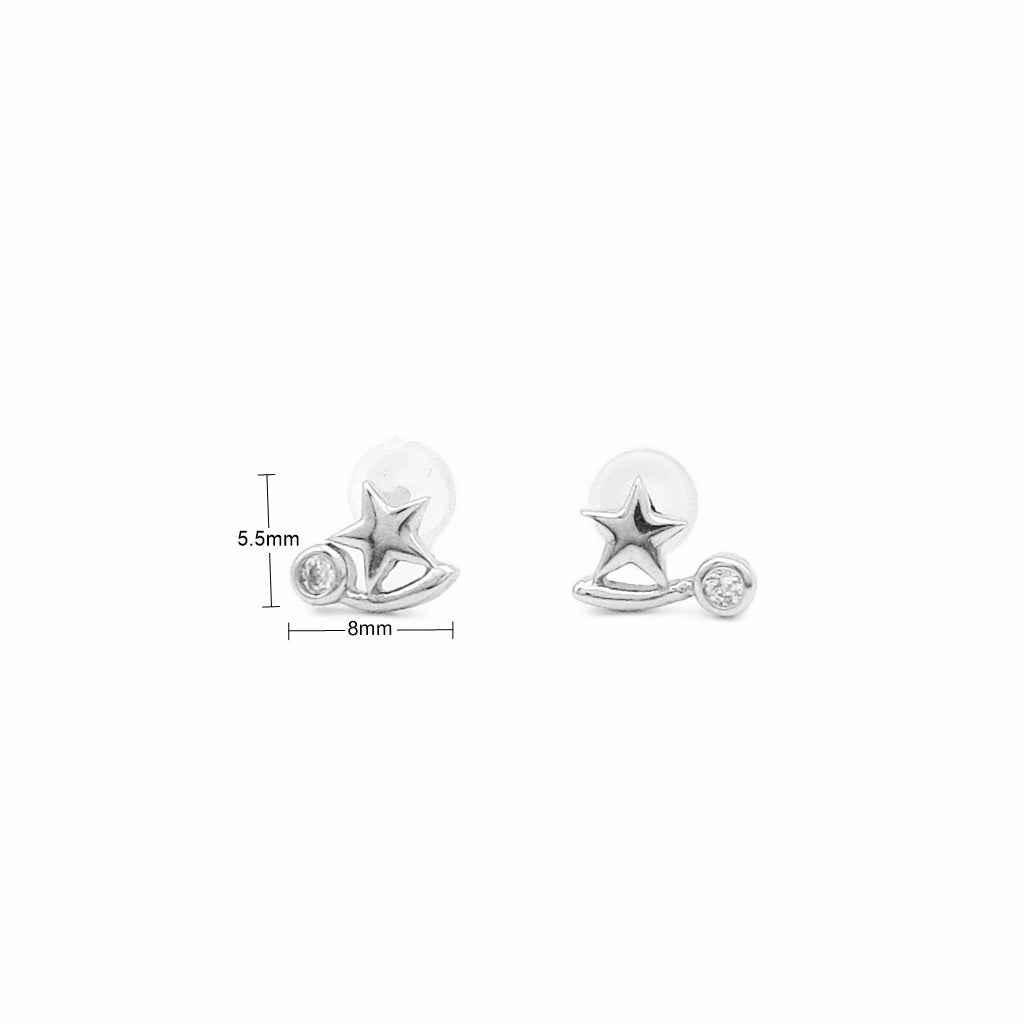
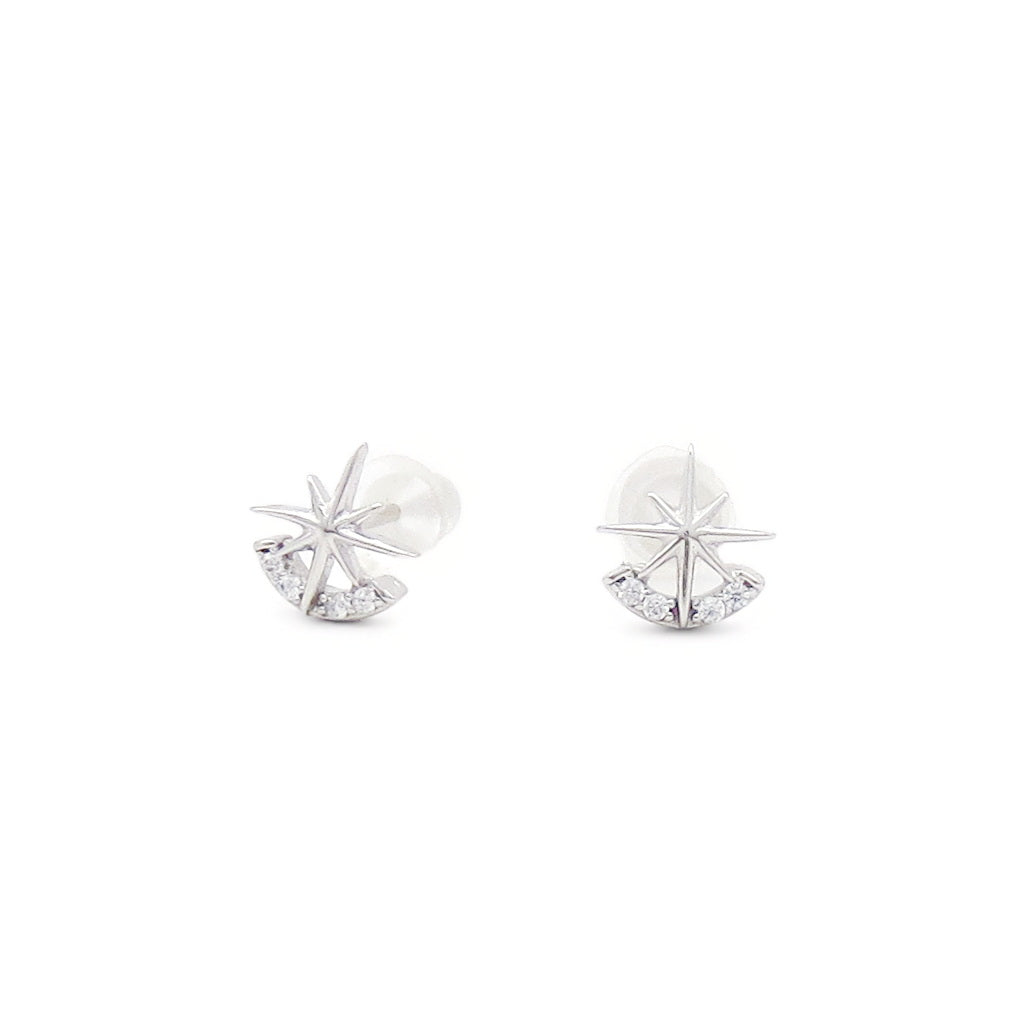
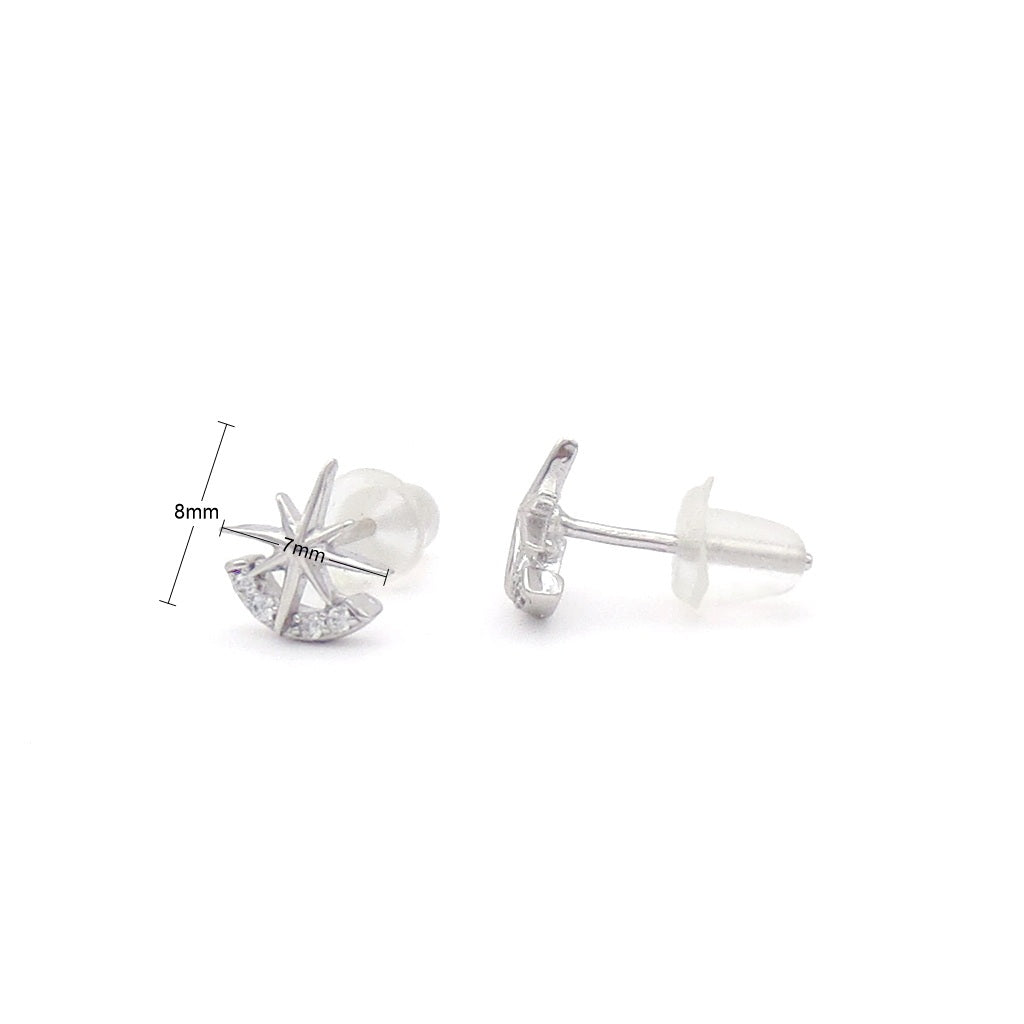
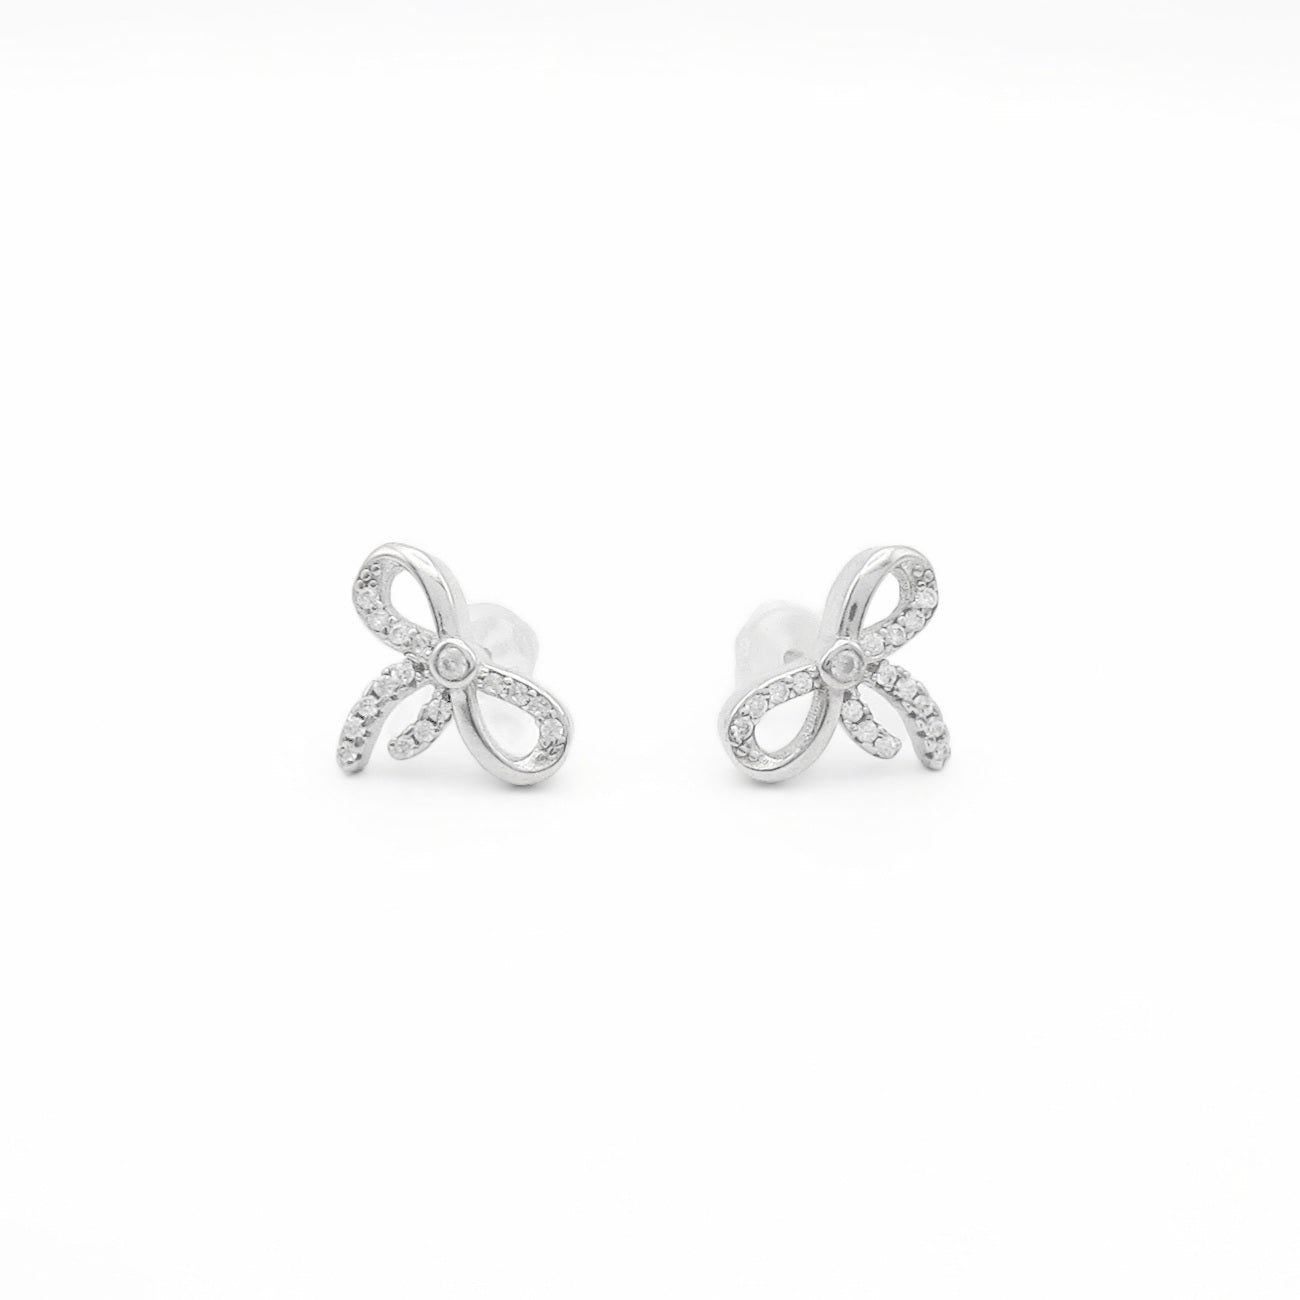
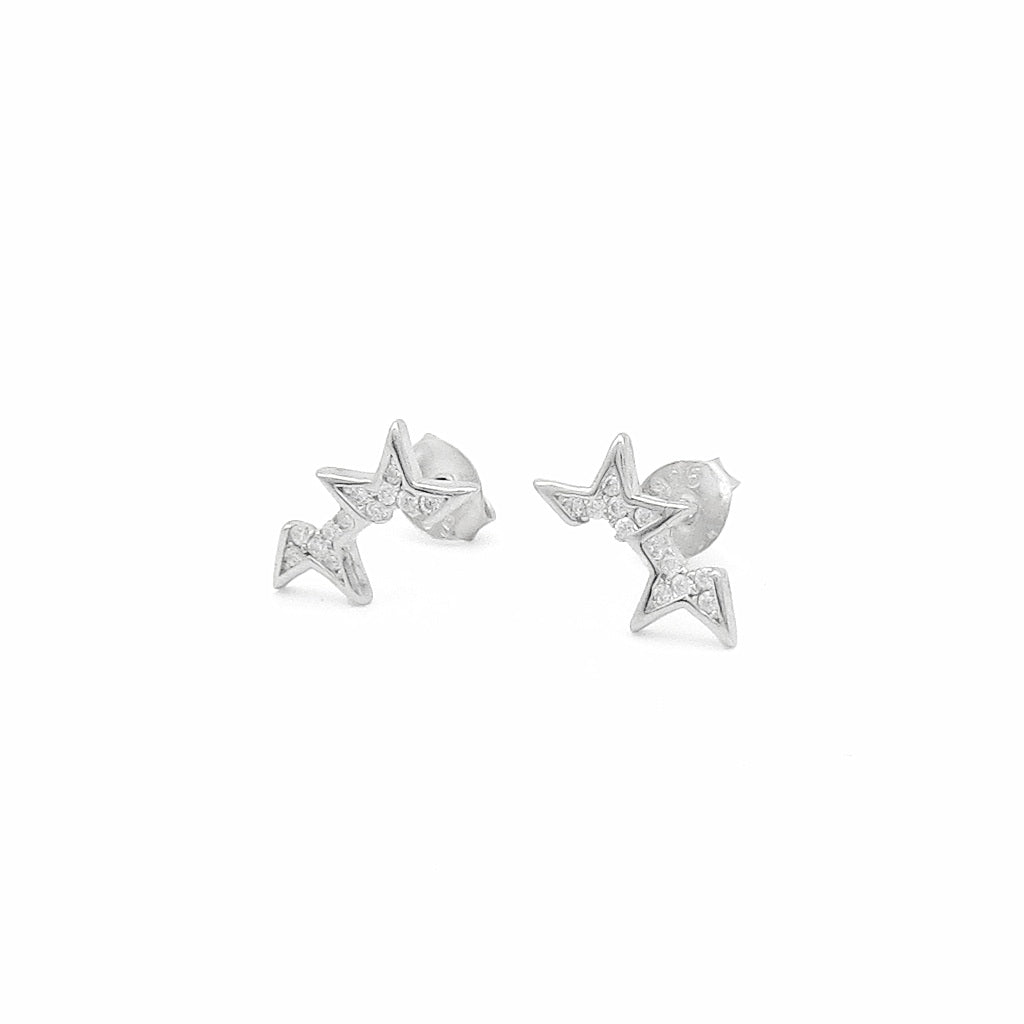
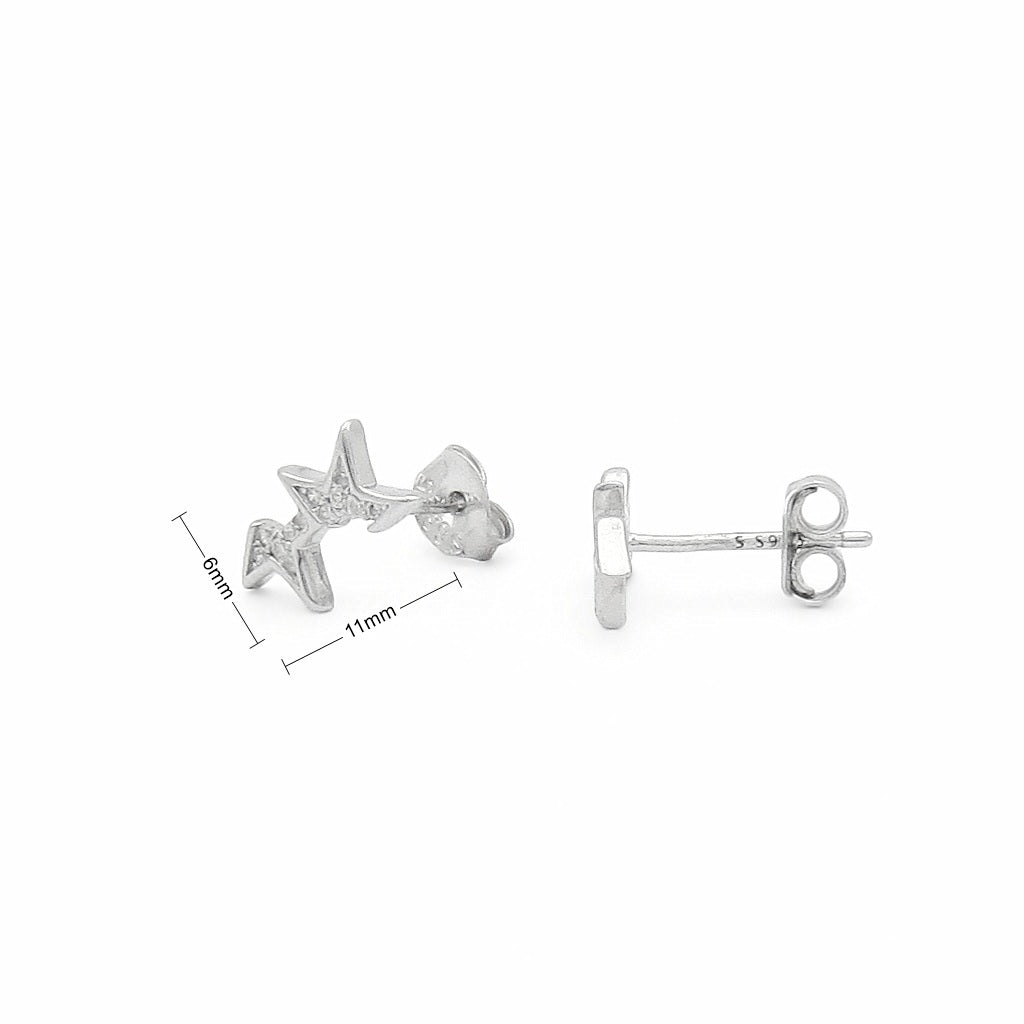
I was so excited to find this star online when I was looking for one just like the star mgk got in AU. The design is flawless and my ear (flat piercing) is *much* happier with this jewelry than the last stud. Shipping to the US was fast and easy. Totally recommend!!
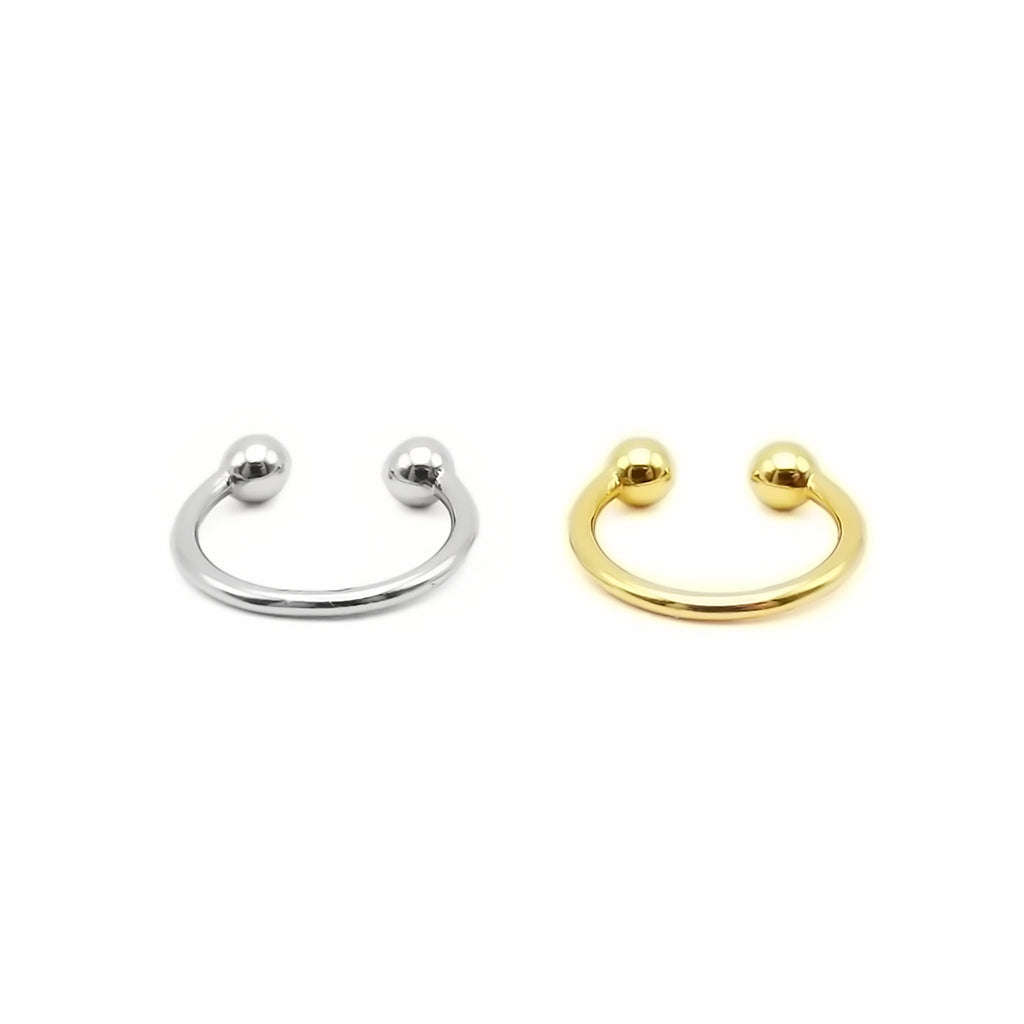
Fits my nose perfectly, shipping didn't take long, not noticeable at all, L bar does not slip out easy.